Appveyor, Github and Chocolatey: Automatically Build your project and publish updates to Chocolatey
So the aim here is to get the PowerGist project a nice CI process. I want to accept pull requests to the github repository and have these changes build, tested (future) and be published to Chocolatey for people to install/update.
Before I go on, if you haven’t used chocolatey, its a great tool similar to apt-get on linux for installing applications - have a look at it now, I’ll wait. Good, now that’s sorted lets crack on.
As this is a free time project, this CI process needs to be buttery smooth. There is nothing like a bit of friction (anywhere but mainly when releasing) to put you off doing an update, fixing a quick change or adding a feature. At the end of the day I want to write the code, accept a pull request or do a commit and have everything happen automagically.
There is one exception to this, I don’t want every build to release to Chocolatey, I want a release gate. When a build succeeds I want a versioned artifact to be created, I can then review this and click a big “Go” button, when happy, to push this to Chocolatey.
I’ve been looking at appveyor for a while now and this was the perfect project to take it for a spin, didn’t regret it – got exactly what I wanted.
So let’s get into it, first of all setup your Project:

I linked this up the PowerGist project in Github and it pulled in straight away, given this quick and easy start I thought I’d go straight for a build and see how it went.
The answer: It failed, with the message below.
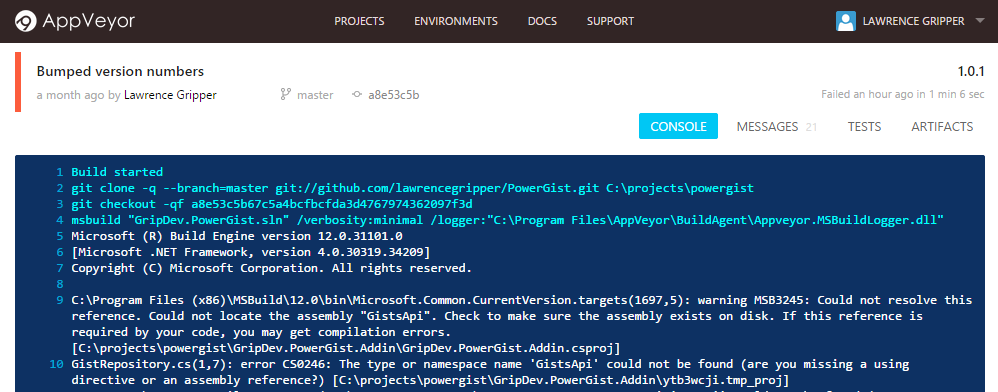
Looks like the nuget package restore wasn’t happening, quick search found this guide from appveyor gave me the answer (a couple in fact). I picked option three and added the nuget restore command to my project settings under “Install Script” as below.
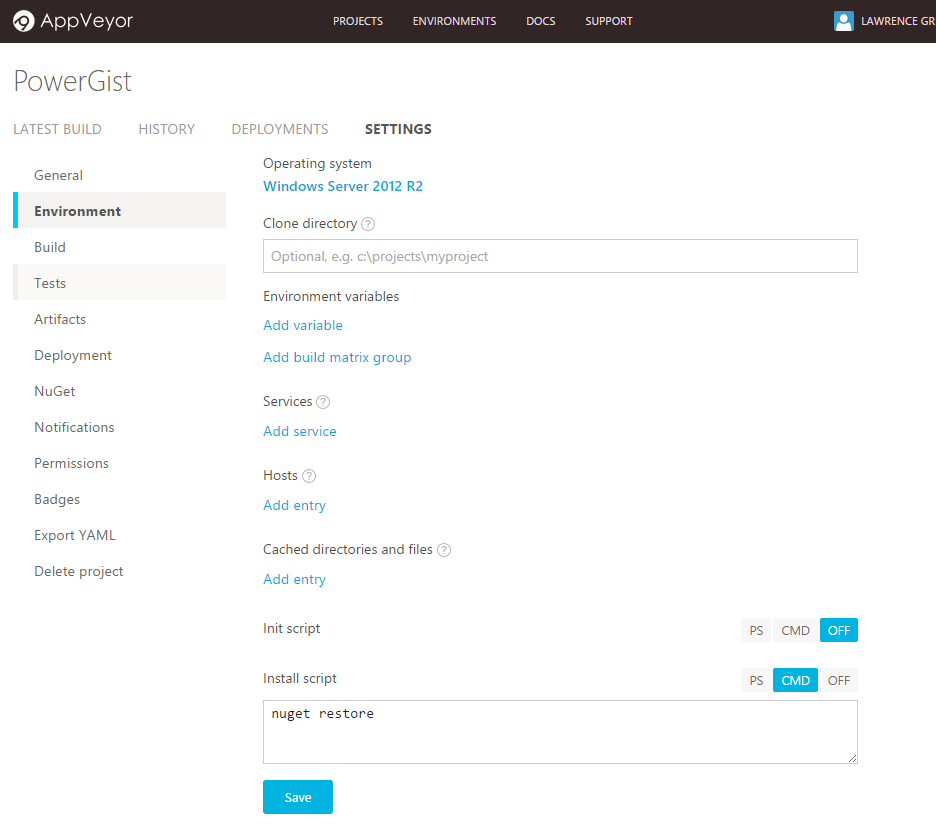
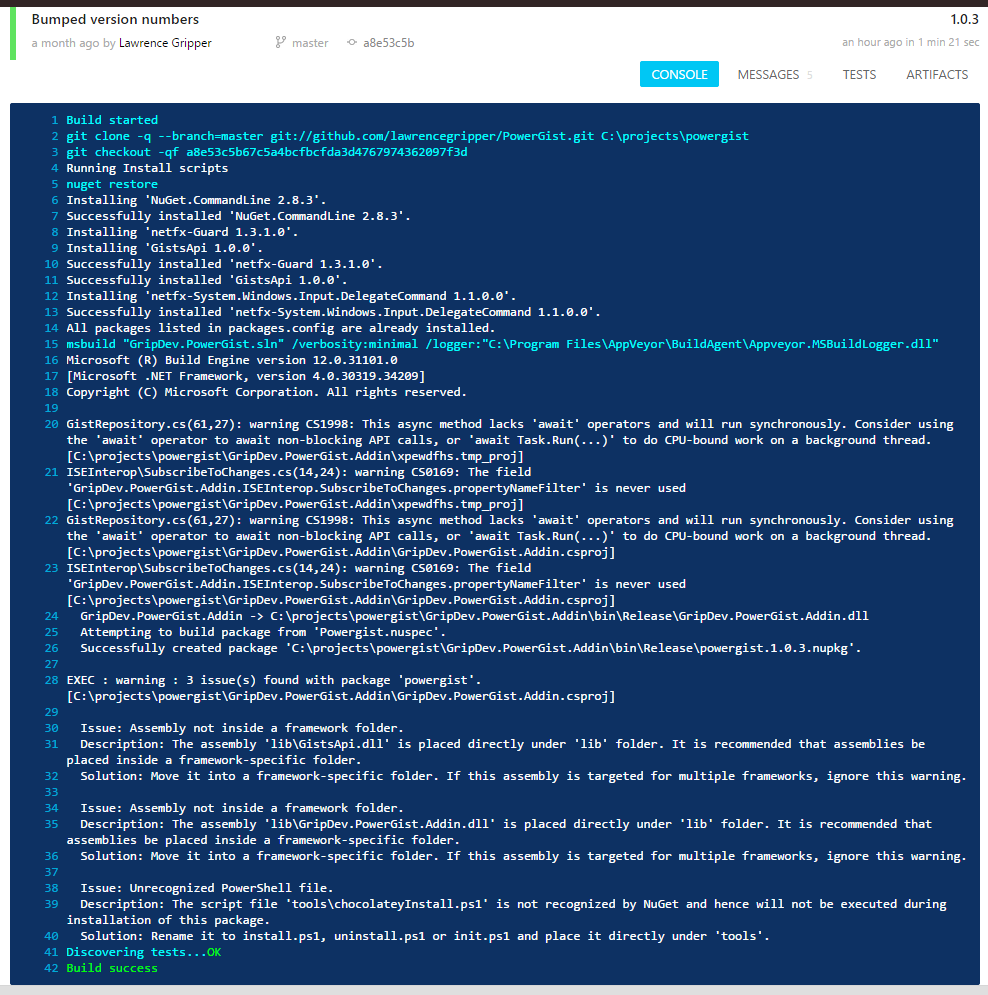
This did the trick and I got a nice green build, it also looked like it had either picked up my post build step (in my csproj) or automatically seen the nuspec file and packaged up my nuget package for me.
So excitedly I headed to the artifacts page to get my hands on the package, only to see an empty page L
Turns out with Appveyor I have to setup the artifacts that I want to capture after the build, this isn’t a drop folder with everything output from the build (like vs online for example). Found another great guide in the docs on setting up artifacts to be captured.
I setup the project to capture all nupkg files as artifacts, in the project file – like so:

Unfortunately that didn’t seem to do the trick, so I tried setting things up with the full path “powergist\GripDev.PowerGist.Addin\bin\Release\*.nupkg” and kicked things off again.
While that was going I went ahead and added a nice build badge to the github readme to show the current build status of the project. This was really easy, head into the project settings à badges and grab the markdown, add it to your readme.md and you’re done.

Jumping back to the publishing of artifacts, it turns out I wasn’t quite on the right lines. What I found worked best for me was pushing the artifact from script, as documented here. I needed to head into my after_build script and add in the commands to create the nuget package and then call the Appveyor cmdlets to publish the output as an artifact. There may be other ways to approach this, it did the trick for me for the time being.
Script:
nuget pack Powergist.nuspec
Get-ChildItem .\*.nupkg | % { Push-AppveyorArtifact $_.FullName -FileName $_.Name }

Now with this setup I can see the artifact pop up in my latest build:

Next on the list is to intelligently increment the version number, otherwise my package submitted to Chocolatey will be the same version as is currently published – obviously that’s not what we want with an update.
I altered my build script to include a version and pulled this from the appveyor environment variables.
nuget pack Powergist.nuspec -version $env:APPVEYOR_BUILD_VERSION
Get-ChildItem .\*.nupkg | % { Push-AppveyorArtifact $_.FullName -FileName $_.Name }
That did the trick, now we have our update nuget package with a version number pulled from the appveyor build.

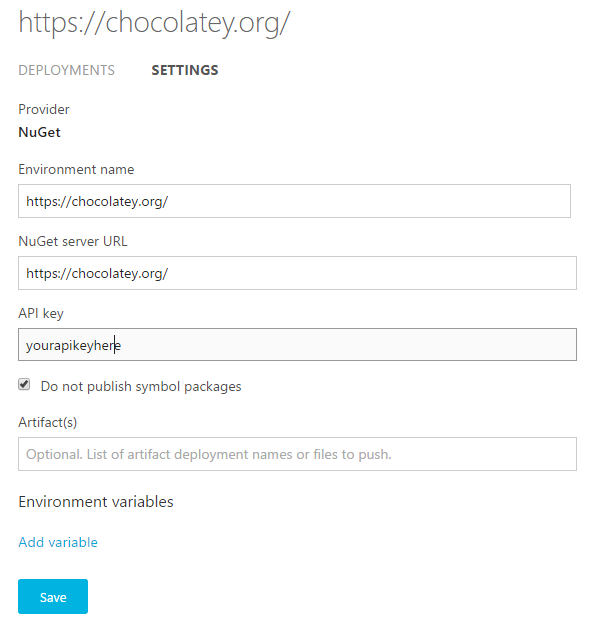
Next up is to setup the “Enviroment” for deployment, in our case this is the Chocolatey nuget feed. Select Nuget as the provider and fill in the details. As we’ve only got one nuget package in are artifacts it will automatically pick this one so don’t need to fill in the artifacts box.
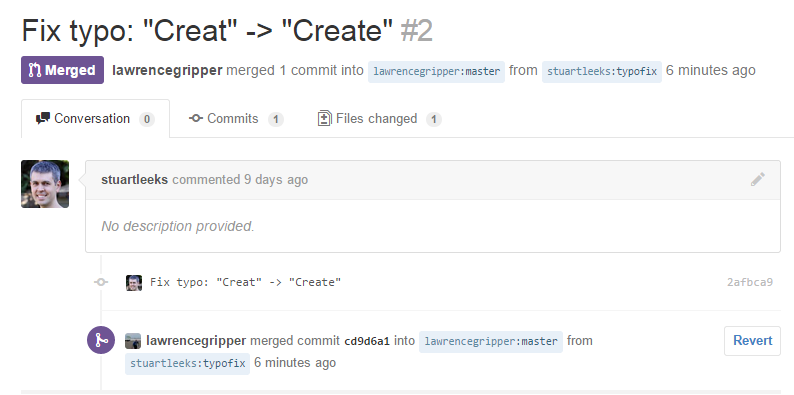
Now when I merge a pull request in github, like this one from Stuart Leeks, it automatically starts off a build in Appveyor.

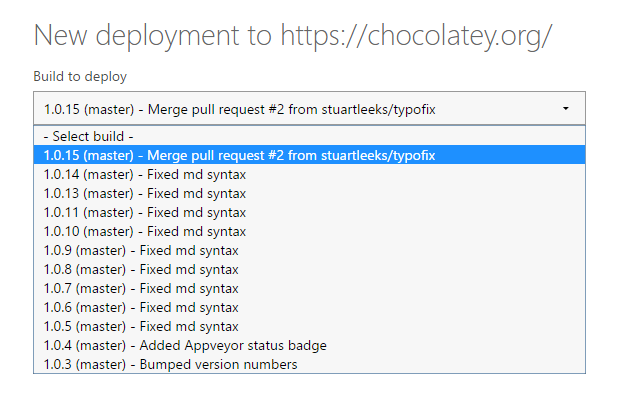
When the build finished I headed over to the “Enviroments” tab to find me lovely “Go” button that I wanted (they’d called it “update” but I’ll let that one slide).

Clicked this I could then select that build I wanted to publish and click “Start Deployment”
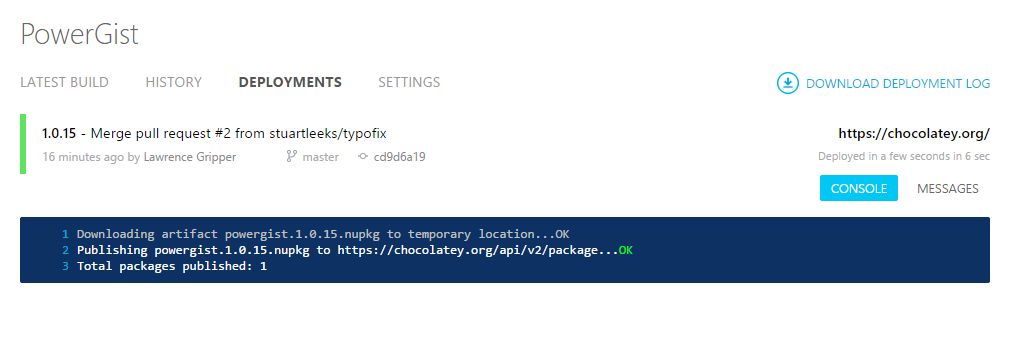
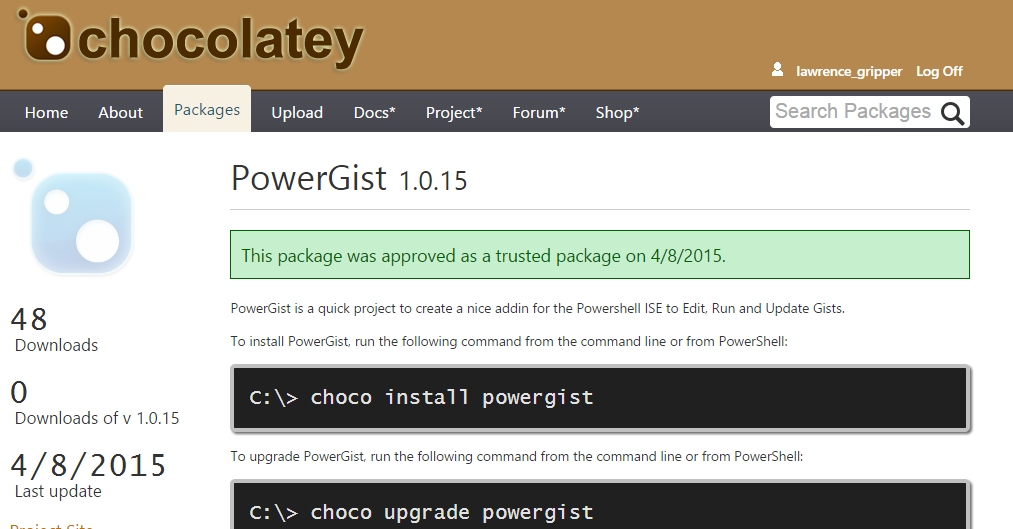
That’s the lot, it grabbed the artifact and published it to Chocolatey – Very happy!
